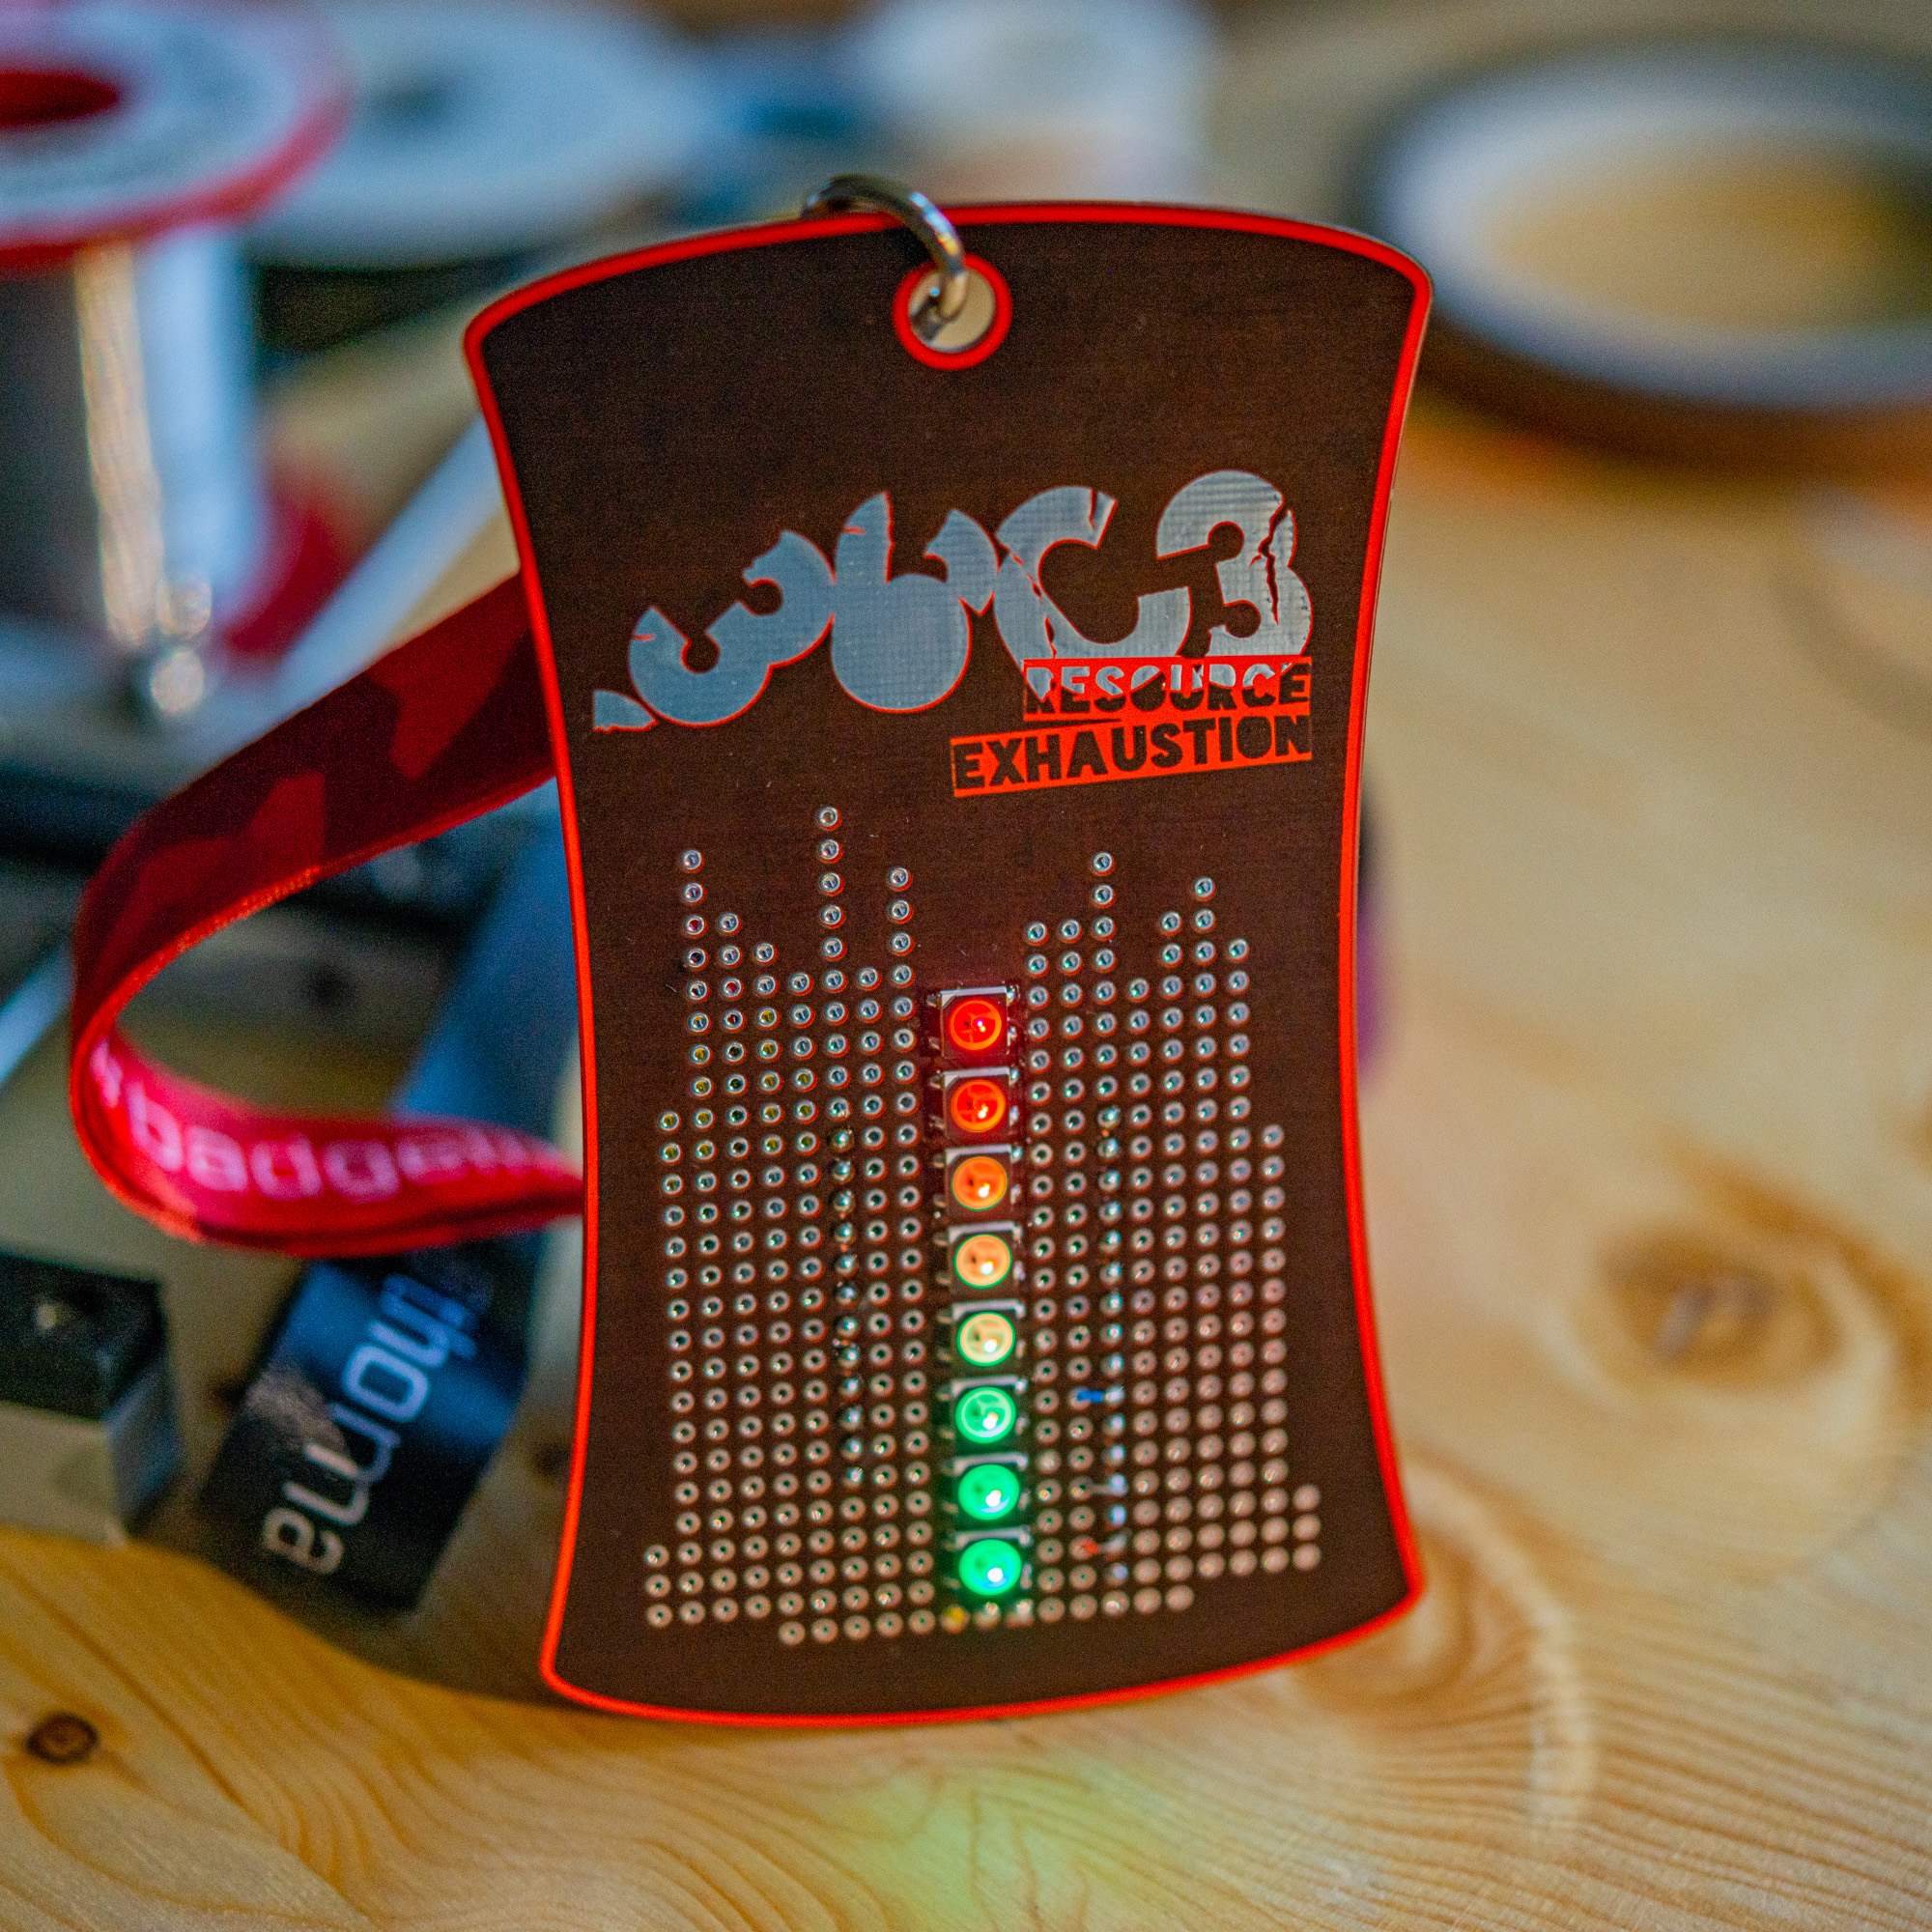
This badge is an experiment into simplistic badges, heavily inspirred by the first Superconference badge with just a little blinky-blinky added.
As I see it, this type of badges make it very open what and how to hack it, and I have seen great hacks, when hardware people go at it with parts from the scrap bin and put stuff together in a short period of time.
I’m hoping that some people will take on the challenge and make the LEDs on this badge light up with a type of controller that no one else has used and share some photos and maybe the experience with the rest of us.
Design
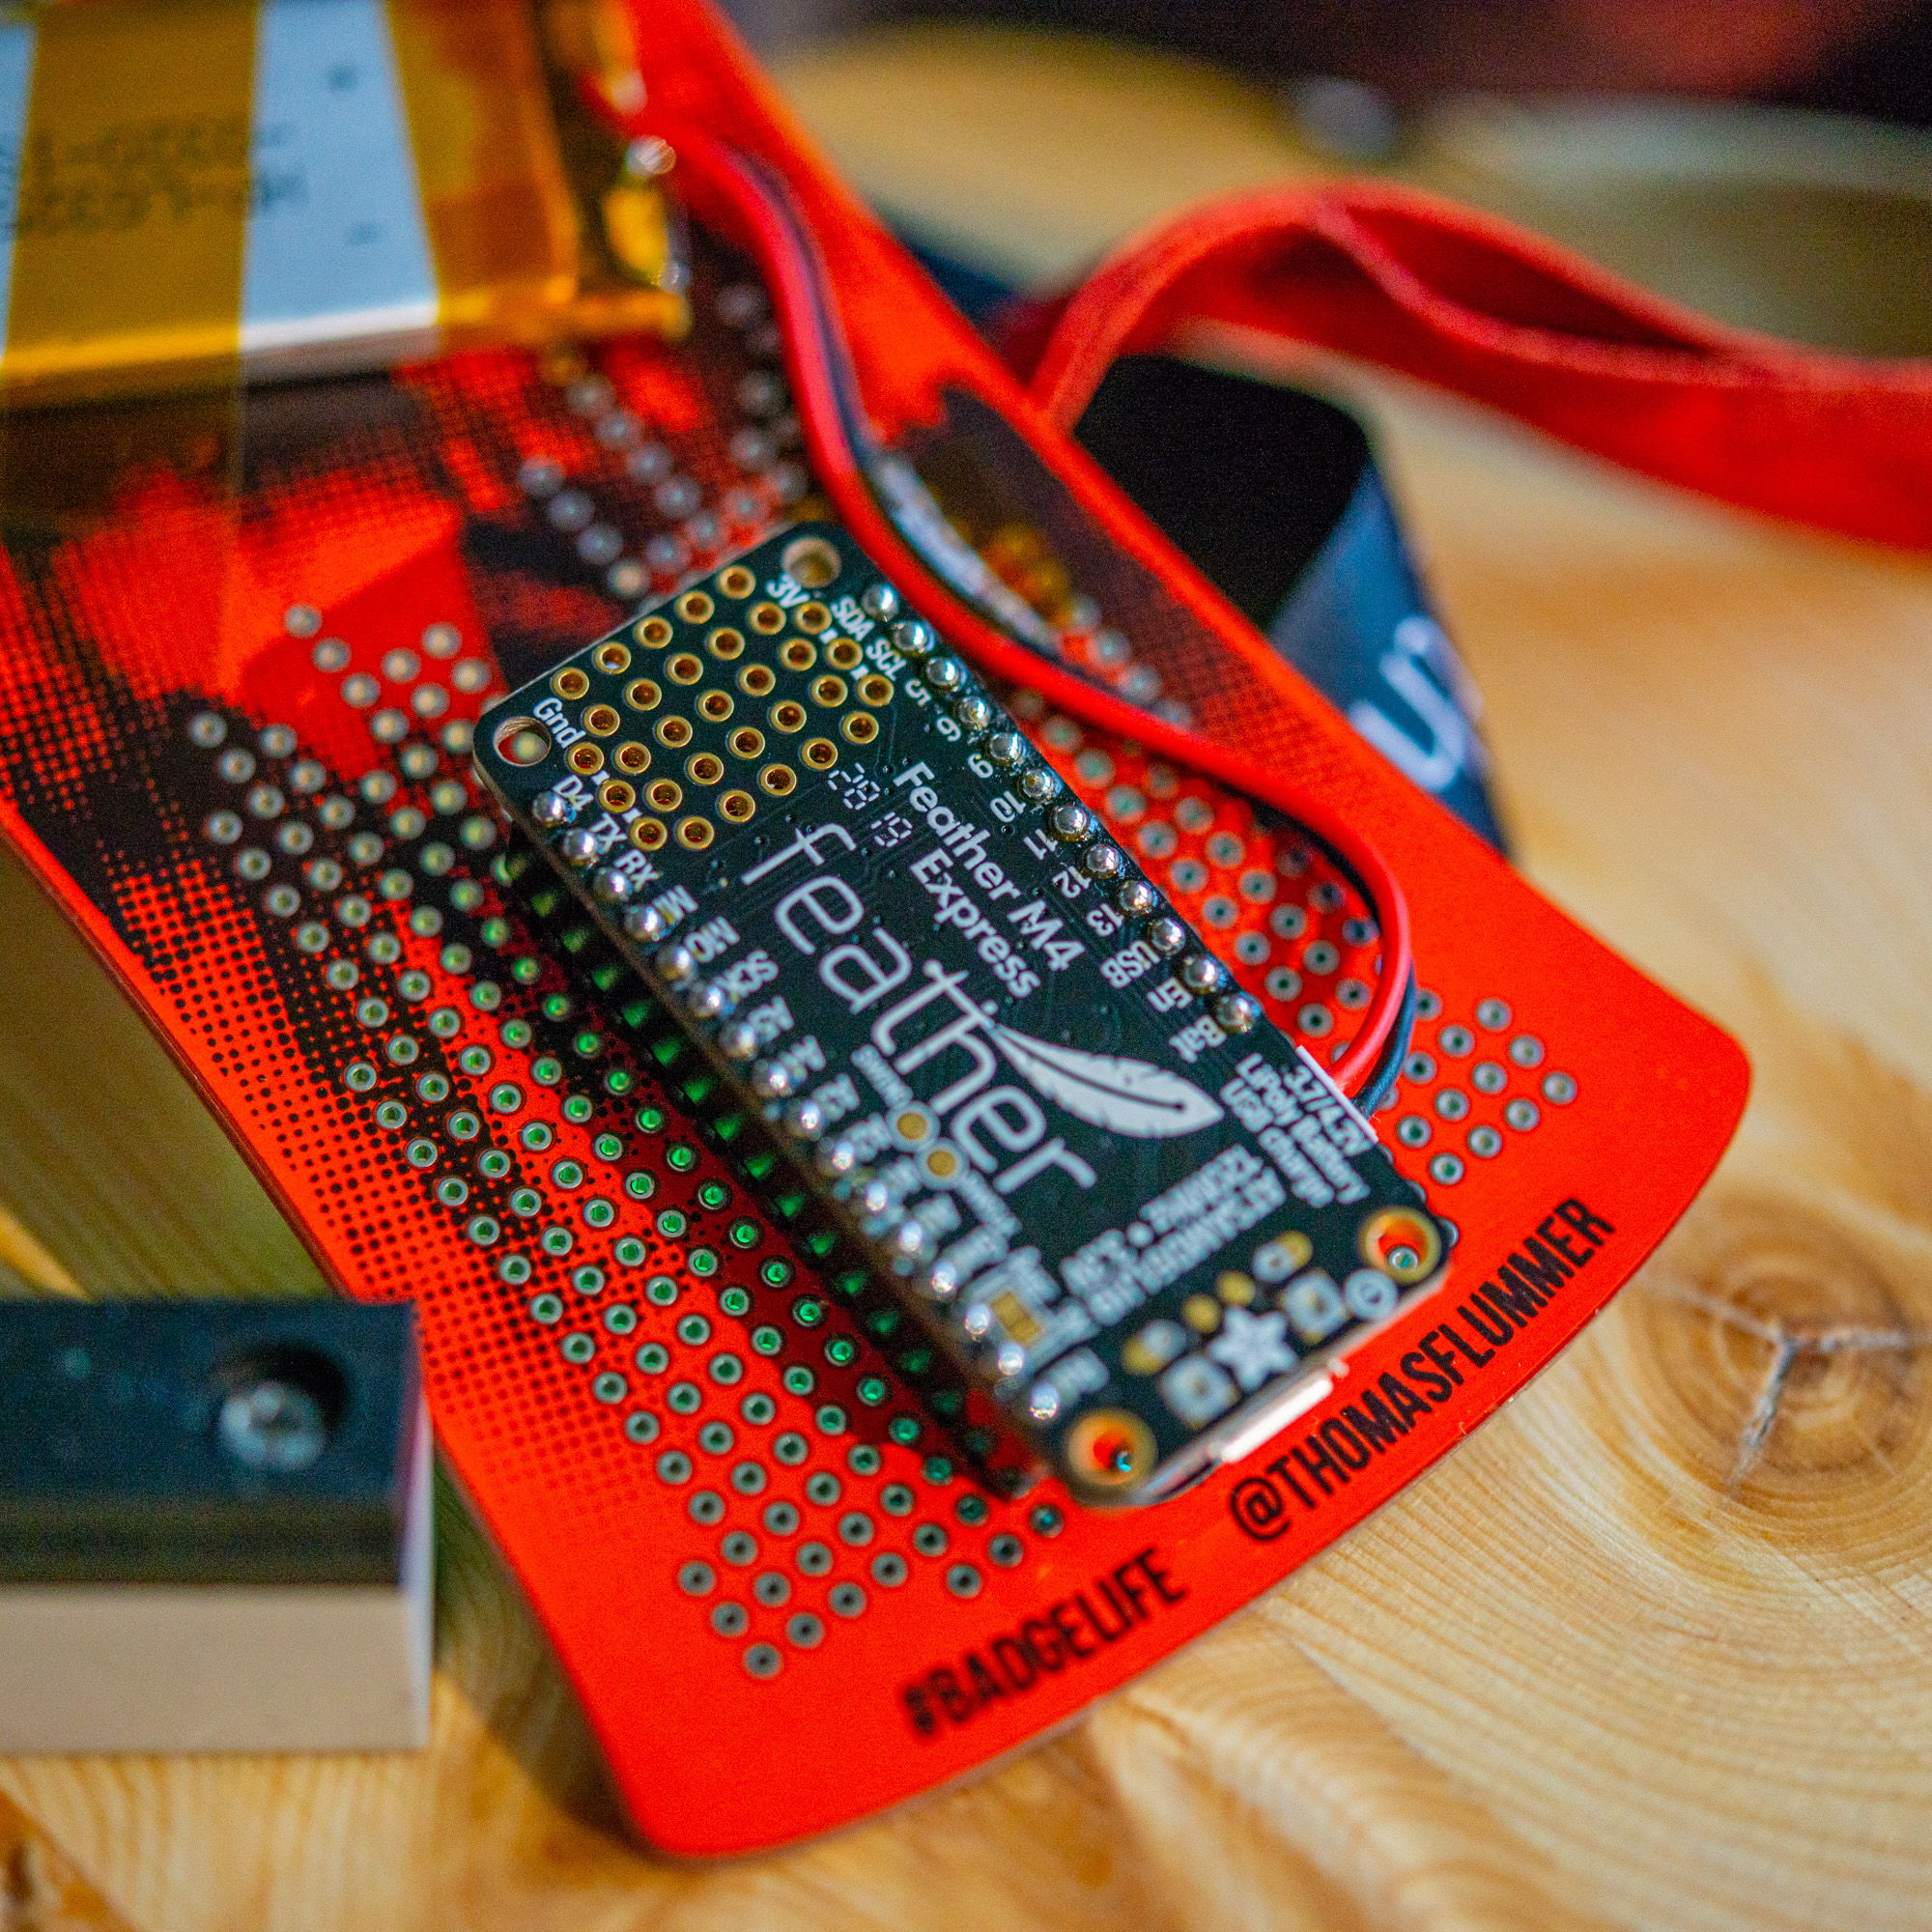
The design is using the great logo by Bleeptrack and to get the orange color, I chose the “red” option at AllPCB, which comes out kind of orange where there is copper below. The silkscreen on the PCB is matte black, but comes out a bit brown-ish and has a matte finish. On the back is a halftone image of Fairydust at 34c3.
My controller setup
My description below is using an Adafruit Feather M4 Express running Circuit Python. This is just an example and the badge comes without a controller, only the PCB, 8x WS2812B, 8x 100nF caps and a lanyard is included.

An awesome feature with the feather boards is the LiPo battery charging and powering, which makes it really easy to power the badge, but a small USB power bank is also a very easy way to power a badge, since most small controller dev boards can be powered via USB,

I have mounted the Feather M4 Express with the components facing towards the badge, to make the sandwich contruction as thin as possible, though maintainning the possibility to take the two apart, by using low profile female headers.

Tips and tricks
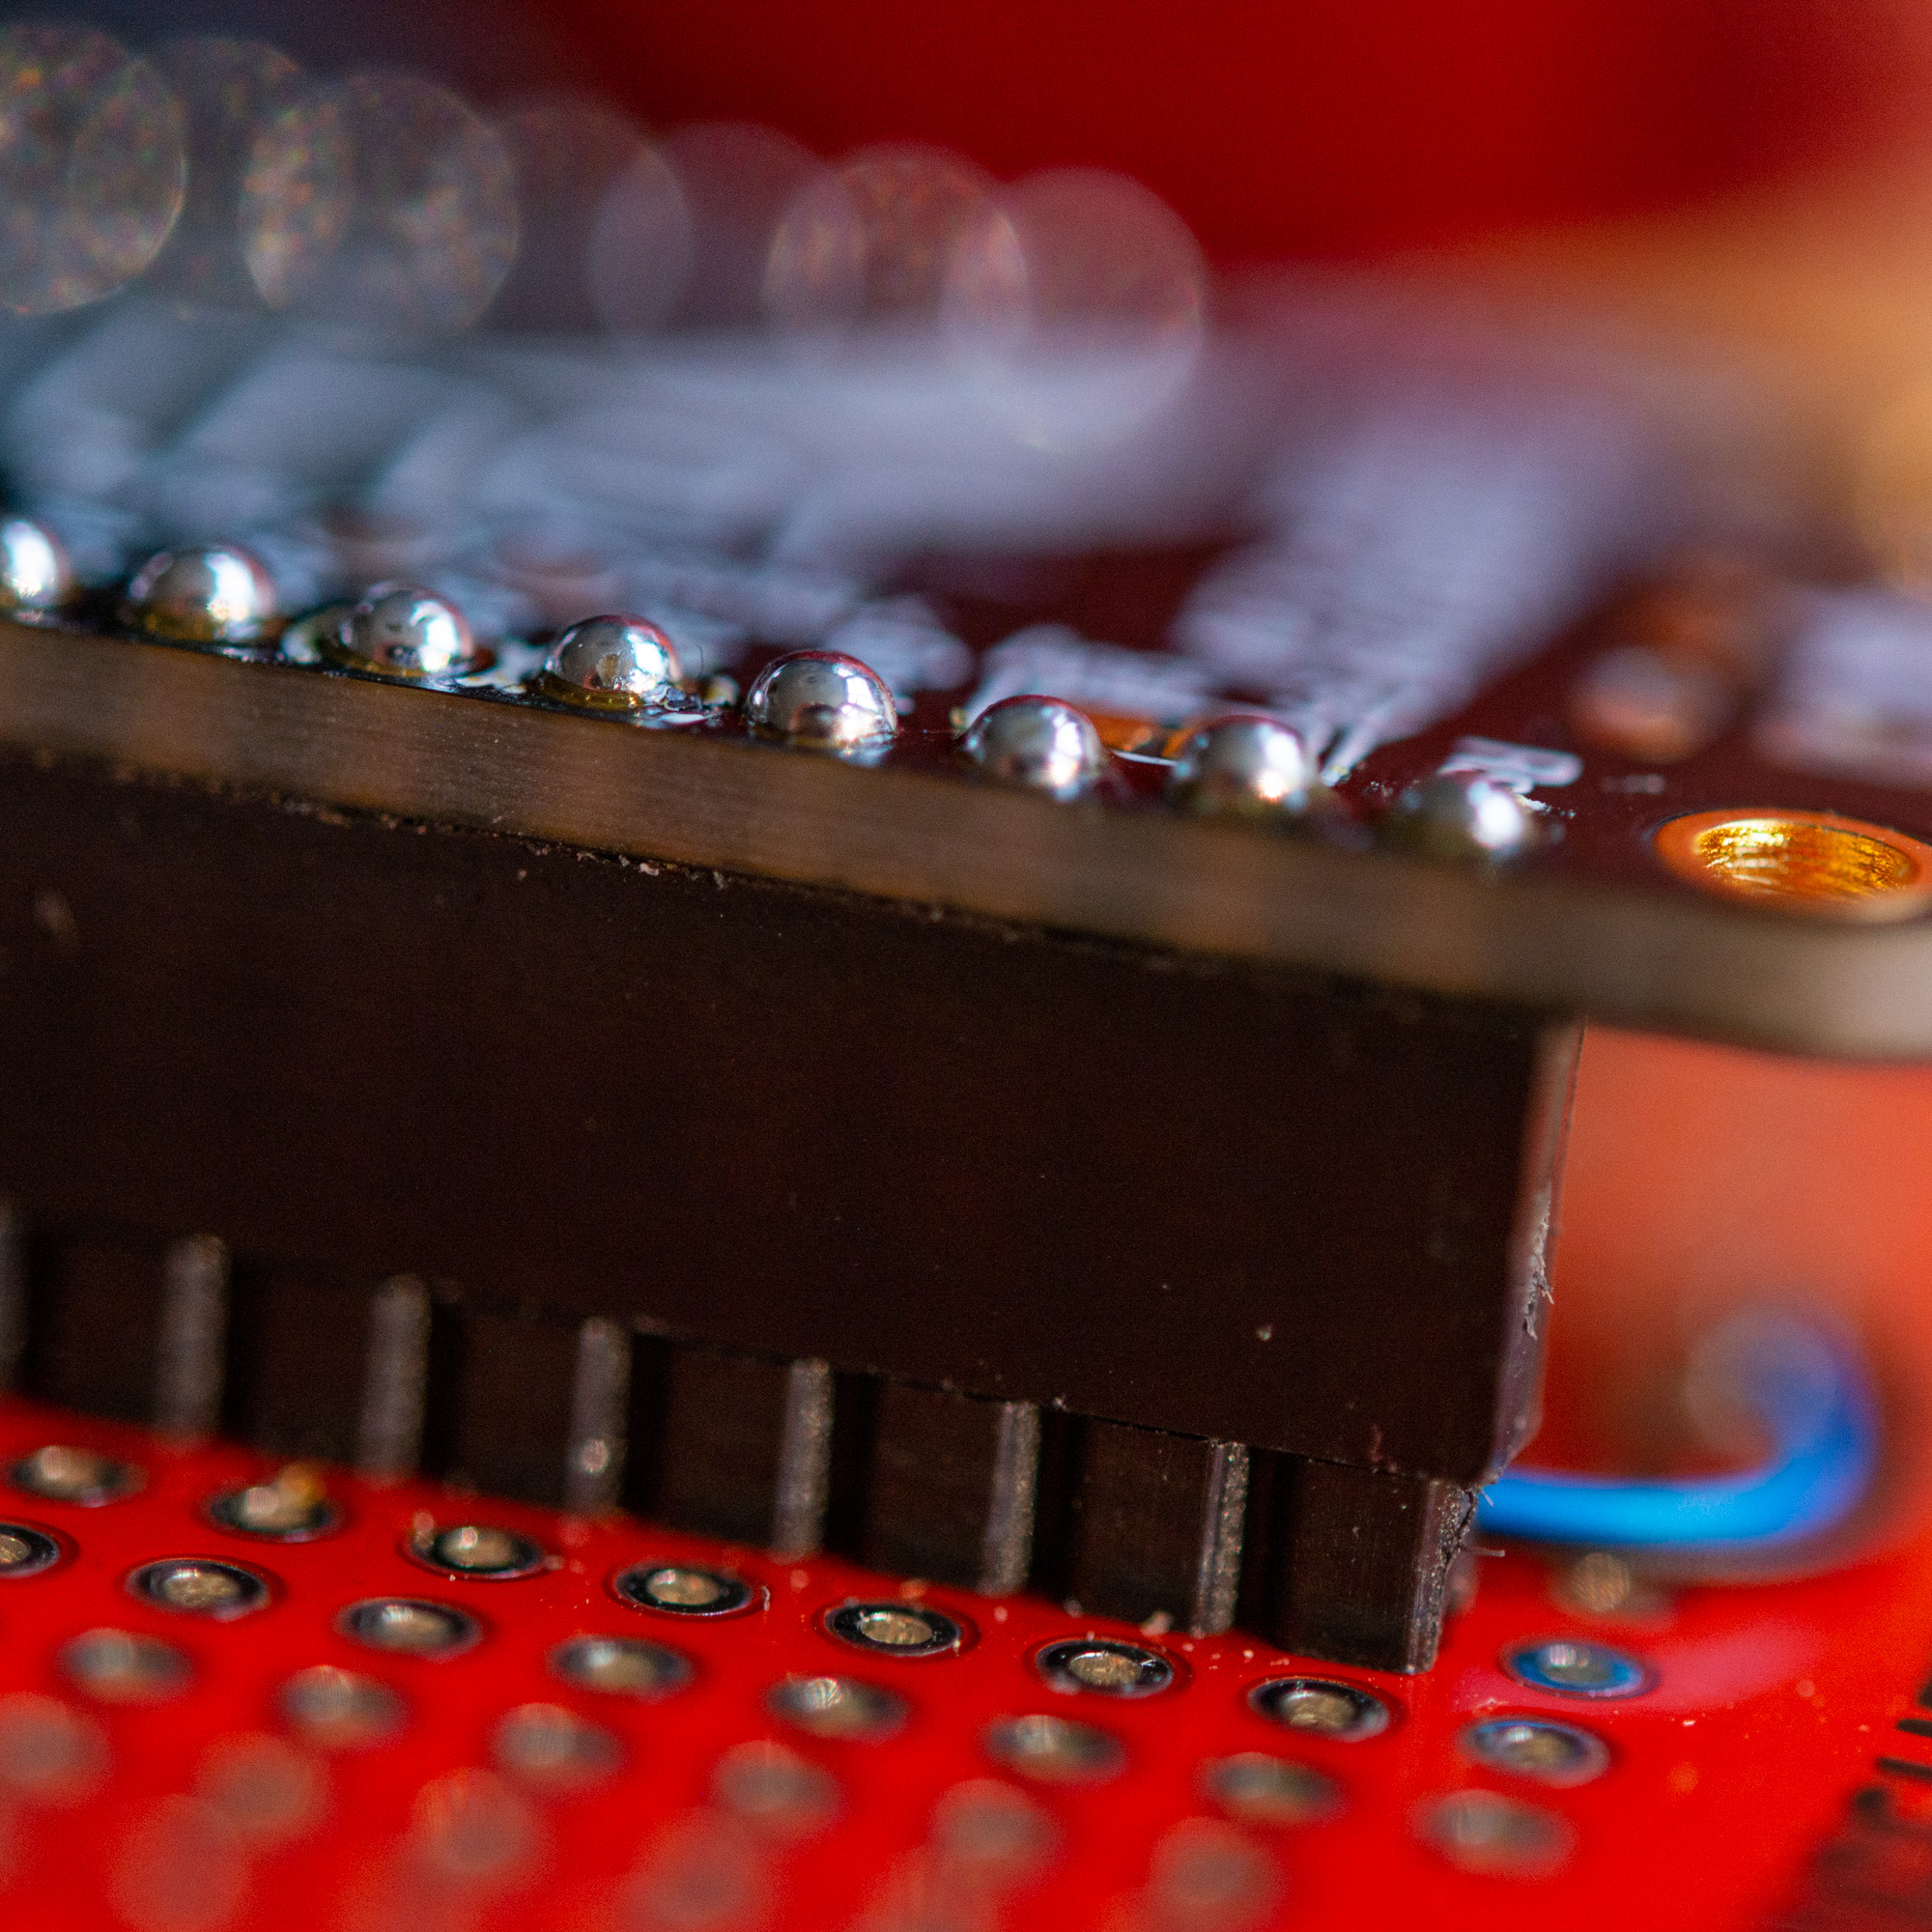
To prevent the solder connections to scratch my clothing, I have cut down the pins as close to the PCB as I could usign a flushcutter and then added an extra blob of fresh solder to form a nice spherical solder joint. In normal electronics, this would be considered too much solder, but in this case the back side will be nice and rounded and not catch your clothing. I did the same on the front in case the badge would flip over.

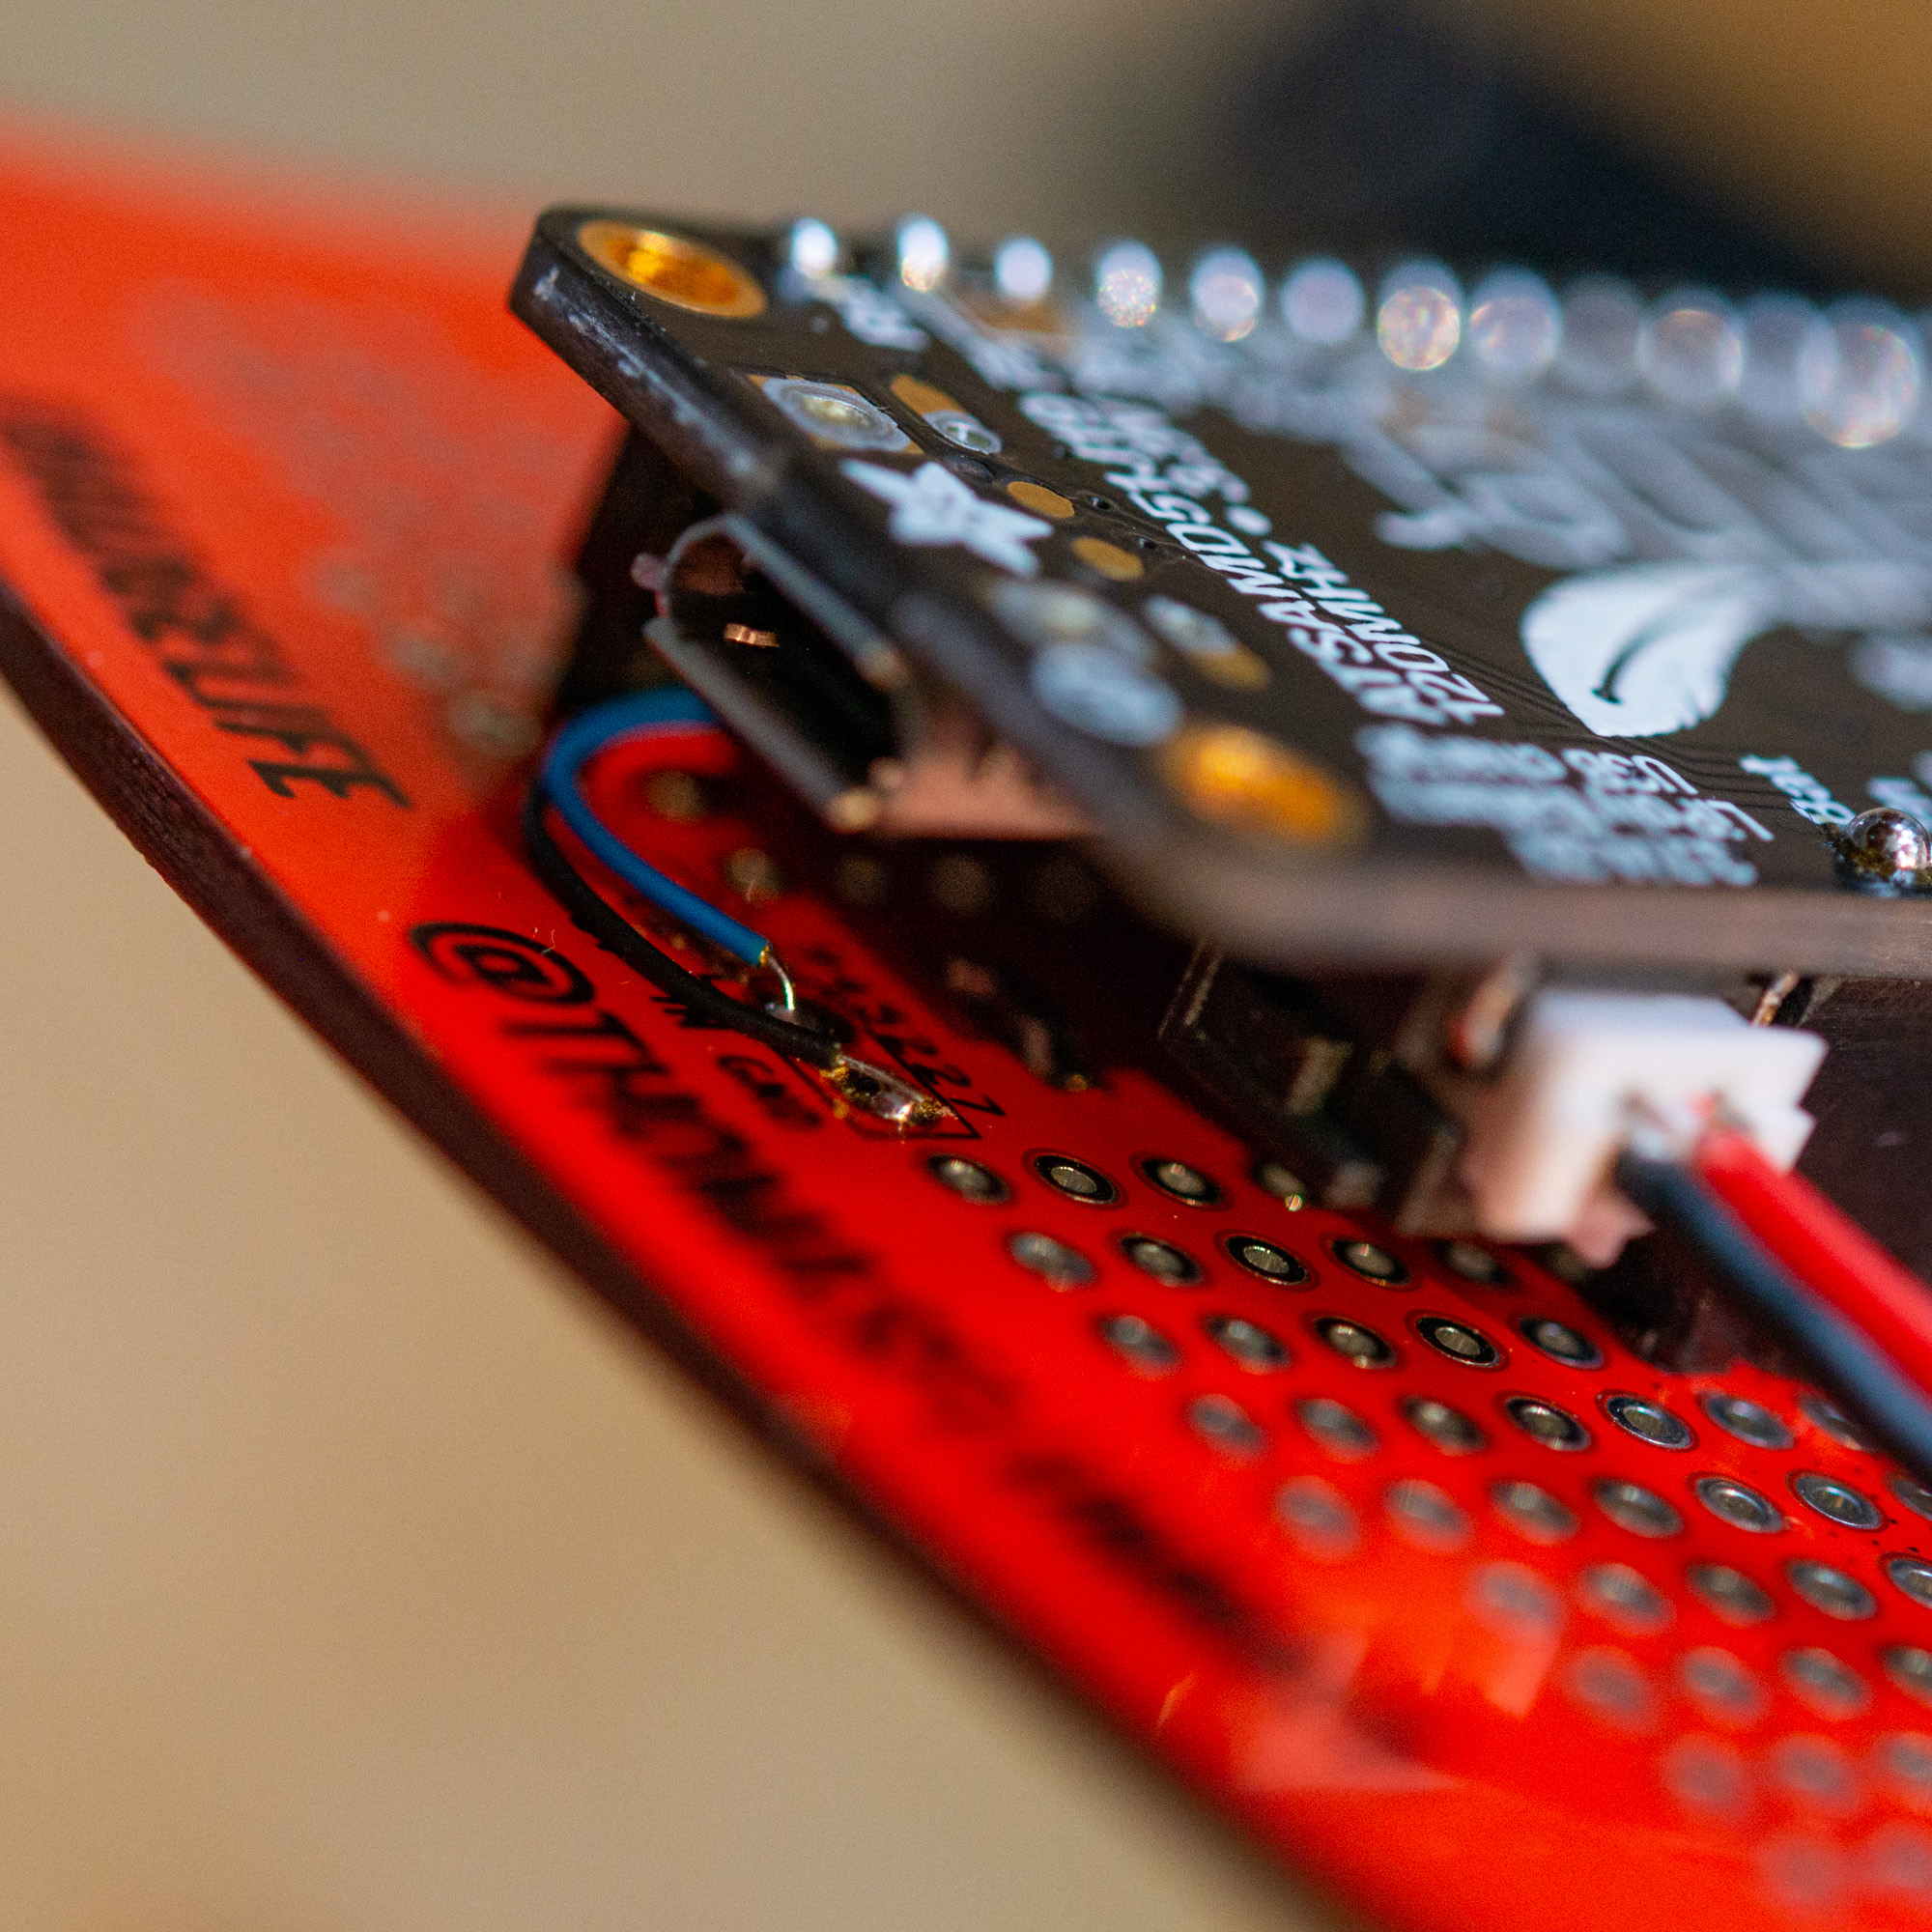
The connections for the LED string is bottom center with VCC (ideally 5V, but 3.3V will also work), data in and GND. I have connnected data in to A2, VCC to 3.3V and GND to GND on the Feather M4 Express using 3 small wirewrap wires, that is mostly hidden between the two PCBs.
Firmware
To control the NeoPixels, as Adafruit calls the WS2812s, I had to add the neopixel.mpy library to the lib folder on the device and then
I run a simple rainbow animation mostly put together with snippets from the Circuit python examples:
code.py
import time
import board
import neopixel

led = neopixel.NeoPixel(board.A2, 8)
led2 = neopixel.NeoPixel(board.NEOPIXEL, 1)

def wheel(pos):
    # Input a value 0 to 255 to get a color value.
    # The colours are a transition r - g - b - back to r.
    if pos < 0 or pos > 255:
        return 0, 0, 0
    if pos < 85:
        return int(255 - pos * 3), int(pos * 3), 0
    if pos < 170:
        pos -= 85
        return 0, int(255 - pos * 3), int(pos * 3)
    pos -= 170
    return int(pos * 3), 0, int(255 - (pos * 3))

led.brightness = 0.07
led2.brightness = 0

i = 0
while True:
    i = (i + 1) % 256  # run from 0 to 255
    for x in range(8):
        if 96/8*x+i > 255:
            led[7-x] = wheel(96/8*x+i-255)
        else:
            led[7-x] = wheel(96/8*x+i)
    time.sleep(0.1)
